Search This Blog

Wednesday, June 12, 2013

And so it is!

So, it's been a really long time coming hasn't it? The downstairs finishing didn't take any longer than what was promised, so that's a good thing. They also finished my upstairs (main) living room hardwood floor as promised, so that's a good thing too! It's just that my unpacking and putting things away took ever so much longer than *I* had planned. My energy just fizzled out! I am still putting things away - it's really worse than moving! LOL!

How about a tour? I know Joan, Sue, Wendy, Debra, Sandy so many of you are anxious to see the new stewdio. Thanks for all your emails and phone calls to check on me. It's nice to know that someone actually looks at this blog besides me. I originally started the blog as my own personal diary, and now, I have gained so many new friends!


HERE WE GO!
This is the tile floor that is at the bottom of the stairs and then all along the west side of the room. It looks like a patchwork quilt, doesn't it?
Straight ahead is the guest room.  (The spots on the wall are actually spots of sunlight.)  The paint color of the room is Sherwin Williams "Bagel".  The carpet is "Multi-grain".
The quilt on the bed is my favorite two color quilt, an old fashioned Flying Geese.  It has a piece of every red I had in my stash at the time I made it, with no repeats.
To the left of the entry is the guest powder room.
The shower tile matches the rosiest floor tiles; paint is Sherwin Williams "Rain washed."
To the right of the entry is the kitchen area.  There's a full size refrigerator with an ice maker, a microwave, and yes, Bobbi and Pat even a wine rack hidden in the cabinets.
Here's a more straight on view of where we just came into the room.  The paint looks blue, but it truly isn't.  It is Sherwin Williams "Halcyon Green".  It is more true in the picture before - a greenish gray with a blue undertone.
How about just a little tease of the studio from this angle?  There will be more pictures of this area later in the post, so stick with me here.
Straight across from the kitchen area is the "family" room, or as Hubby calls it, the "Man Cave".  We moved the dining room furniture out of the sun room upstairs and now we can entertain a sit down dinner downstairs!  We were able to re-use my favorite light fixture from three houses ago, and the glass cuts in it match the glass cuts in the china hutch. 
You can see why it is also called the "Man Cave" because of the 65" big screen TV at the west side of the room.  The sofa is a queen hide-a-bed, so there's room here for more overnight guests, too.  Lots more room to move around than where all this was upstairs!  This room is Sherwin Williams "Quietude" which is two shades lighter than the stewdio side of the room.  Have you seen enough of the regular re-model?  
My favorite sign is back in business!  
And so am I!
This is the west wall with mini-bolt fabrics, sewing table and Handi-quilter machine. The jars in the windows hold my loose threads and buttons and tidbits of fiber.
Here is my Resource Center!  You can double click the picture to see the labels (I think) on the tubs.  The big table is where my guest stitchers can play, too.  Wanna come over?
This is the area behind my sewing table, and there are actually three cabinets on casters that sit here.  I've moved one out to another location to use, but when not in use (ha!) it can fit snugly here to make it look like all one unit.  They couldn't be built in because of the fire code and an egress basement window, but this works better anyway!
Here's that other unit.  What isn't showing is the "flip-lip" that is on the back that raises up when you need a larger/longer surface.  The cabinets look like they are tipped, but that is the angle of my camera - not the cabinets!
And, for Pamela those of you who were worried that the painted cabinet didn't make the move, you can rest easy because here it is.  Right beside my sewing center for inspiration! 

Now, that just about everything is back in it's place, I can go play.  And that's just where you will find me!

Thursday, April 11, 2013

Studio Makeover Progresses!

Lots of changes going on here, for sure these past two weeks. Here's a few of them for a quick post (and don't forget to double click to see the pictures larger):


Entering into the studio space
Looking into the studio from the sitting area
Cabinetry getting it's pretty face!
East side cabinets
Kitchen/bar area as you enter the room (on the right)
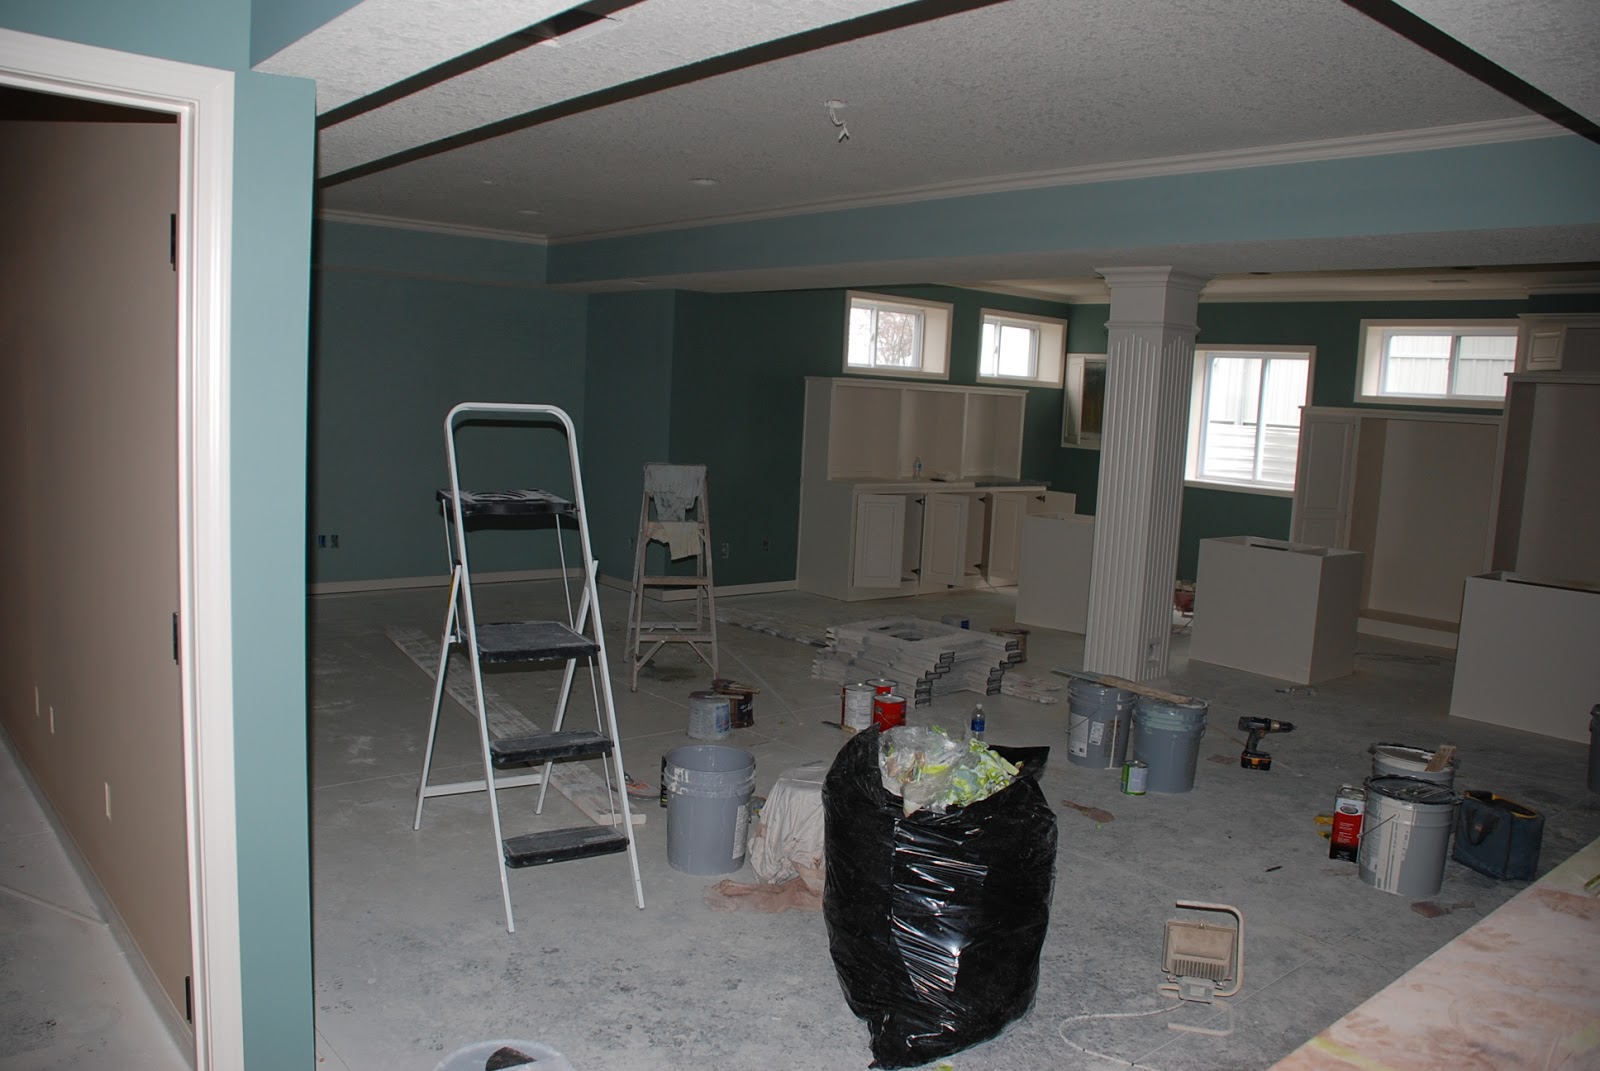
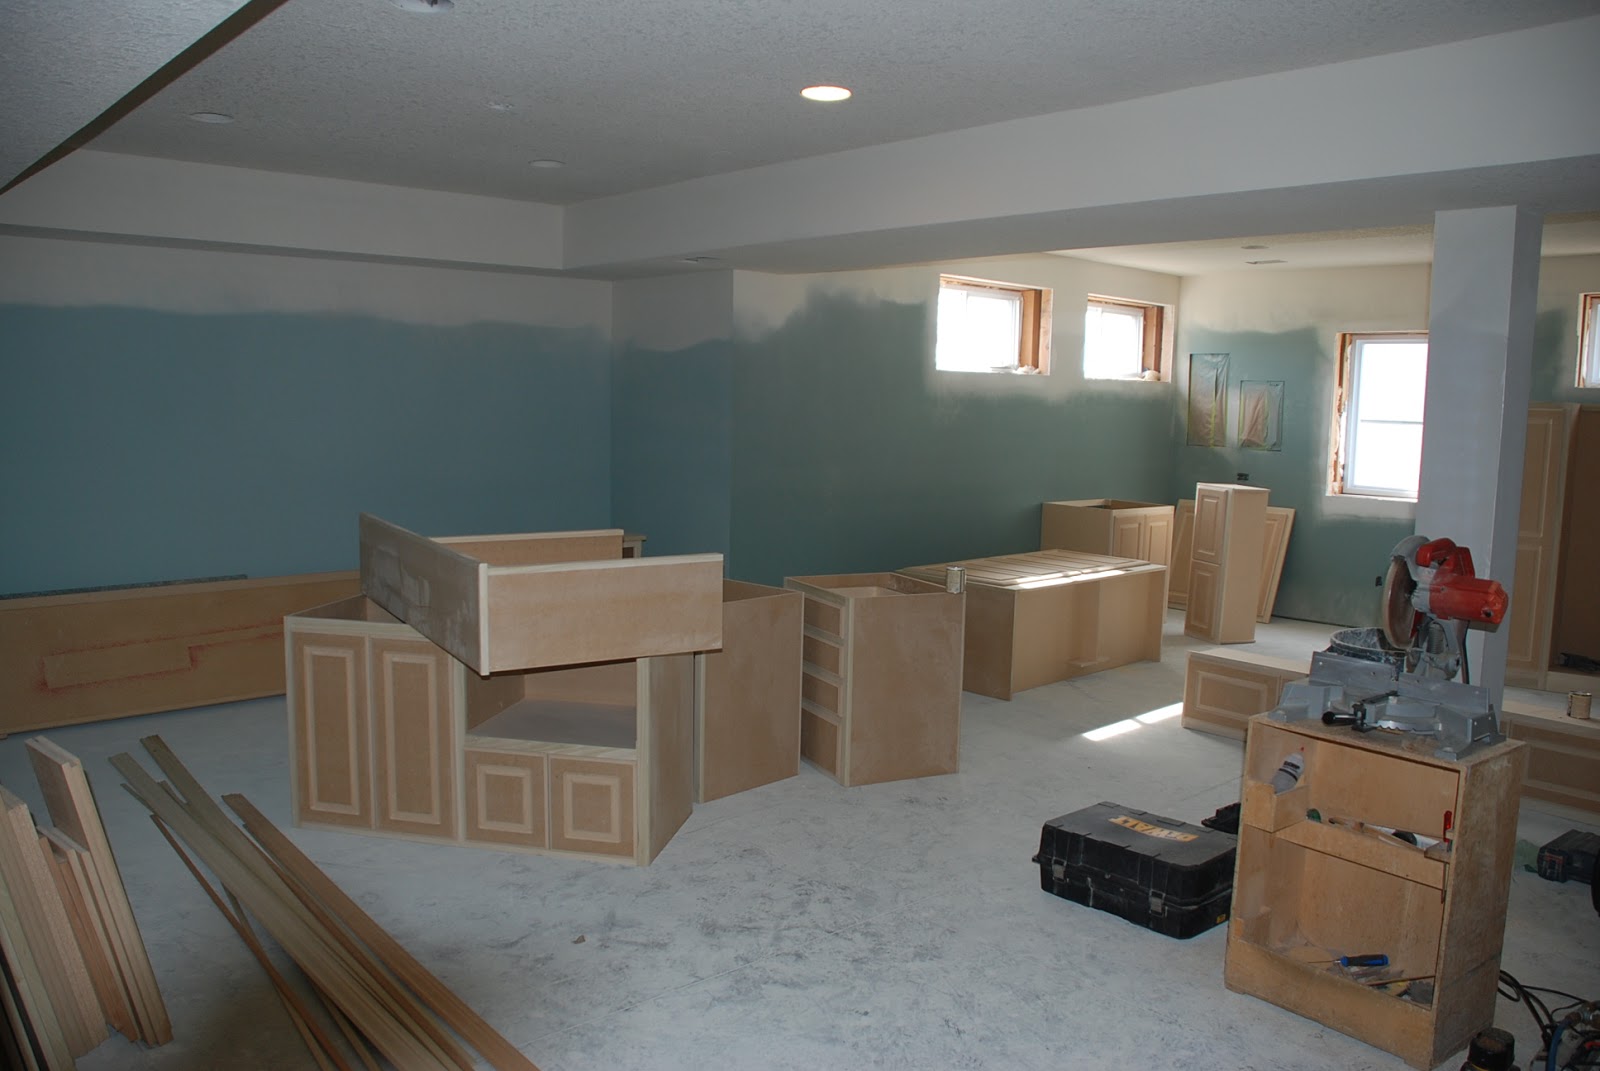
We just got back into the house after a four day absence because the fumes were so strong. You can begin to see the paint on the walls in more of a true color, they still have another coat to go. It still is showing up on the monitor more blue than neutral, but that's not all bad either. If you go back to the second picture you can see the shade change from lighter (in the sitting area) to darker (in the studio). I LOVE it!  

I think we still have another two weeks to go. More painting tomorrow and Saturday; doors and hardware installation and lighting fixtures, wall plates next week. They will probably start the floor tile and carpet at the end of the week or maybe the beginning of the following week.

It's turning out just like I dreamed!

Wednesday, April 03, 2013

What's been going on?  Lots of work in the soon to be finished studio and family room downstairs!

I've been running around in circles, and the progress on the remodel/basement finish has been phenomenal.  I won't bore you with the hundreds of photos we've taken of the framing, insulation, wiring and drywall work.  Instead, here's where we are as of 5pm today, April 2.  

Primer is on the wall, and the cabinets on affixed and waiting to be painted (studio) and stained (kitchen/bar).  Even though the primer looks blue here, it is really a neutral green that goes from gray to green to blue shades, depending on the light.  It is called Quietude by Sherwin Williams, and I am using 3 shades of it to distinguish one room from another.  I encourage you to double click on the photos to see them larger.

We are leaving for a hotel with the kitties and Mayo the Wonder Dog in tow for a week.  The enamel and lacquer work is next, and it's quite toxic.  Since we don't want to wear respirators while they are working (and they don't make them for kitties of dogs), we are taking a short vacation to the west side of town.

See you when we get back, and I'll be sure to post the pictures of the almost finished work.  I am SO excited!
Studio wall - south 
Bunch o'cabinets
Kitchen/bar area
Movable work cabinets
Studio - east

Sunday, March 03, 2013

March?

So it's March? I don't believe it. This is what we had just last week, and we are still digging out of it!

We live in a maintenance provided community, but when the city truck came by, they plowed the end of the driveway back in!  The top picture shows me making a path for Mayo the Wonder Dog who doesn't like getting her pinky toes in the snow.
Looking out my front door after just a few hours.
Mayo can't decide where the steps are!
Notice the doggie footsteps out the door and a u-turn right back inside!  LOL!
Besides being so busy with the snow and other life events, we have been busy with something else that has really taken me by surprise.  Remember this?  
The east side of the stewdio which took me almost a year to set up? 
The south side that I finally got just so?
This is what it looks like now!
It almost looks like I'm moving, right?
And here, with all the empty shelves and tubs?
It took a year to sort and organize and get just right.  Where did it go and why?
It's ALL in the back corner for storage!
Every inch was used!
The relocation of all the junk important items only took about a week to accomplish, which surprised me greatly.  Hubby has decided that we really, really, really, need to finish the downstairs instead of my making do with space heaters and lighting that "almost" works.  Such a sweet guy!  The builder has been here; the cabinetmaker has been here; we've been out to select the counter tops, and the paint colors.  Still to choose is the carpet and the tile, the fixtures and the final measurements to make sure everything is exactly how we I want it.  

Guess when they are going to start?  A WEEK from tomorrow!  YIKES!!!!!!  They tell me it will take 5-6 weeks, and we will need to leave with our menagerie at least twice during the project - once when they paint, and once when the lay and finish the hardwood floor in my living room upstairs.  Oh yeah, I forgot to mention that is being done too!  

At first I was overwhelmed with the short time frame I've had to get the room cleared, but now that it's almost done, I am getting excited.  My friends in the neighborhood have been great to take a few items to store in their garage like shelving components and animal kennels (which we will need when we vacate) that were just too bulky for the storage space.  

Sewing?  Yes, that will continue too.  I have a guild workshop the second Monday of the month and a week long retreat the third week.  Just to make sure I didn't pack my most important things this is where I put them:
At least they are safe in the guest bathtub!
The tale of the pink tutu/s will be in the next post...stay tuned!

Saturday, February 16, 2013

Hooray for Saturday!
I took today just for me! I walked the dog a couple of times with my friend (which I still consider time for me), but that was all! Hubby was sweet and made our lunch and a delicious dinner. It was a nice quiet day with me at the sewing machine, and he reading the last of his book.
Why did I want this time today? Well, I worked 53 hours and drove 886 miles in 6 days! For those of you who don't know, I merchandise flowers at three different SuperTarget stores. I love my part time job, except at the end of these big holidays. I am just soooo tired! Out of 6,000 bouquets and vased products, there were only about 2 dozen (total) left at all three of my stores the next morning. I would say it was a successful event! 

I've heard that a picture is worth a thousand words. Following are my two thousand words about what I sewed today:
Under the needle
The finished project
This was fun, but if you plan on using your selvages in this manner, make sure you load a LOT of bobbins before you begin.  I used 8 bobbins total....but since it was old thread that I don't like to use for my quilting, I am a happy camper to upcycle all this trash treasure!  I still have some selvage left and I have a plan.  Watch out! I'll be bob-bob-bobbin along over the next few days, getting ready for the next project!

Wednesday, February 06, 2013

Fun, fun!

After I read the book in my last post, I have been itching to paint, fuse and play in my strewdio. I let all the ideas in my head simmer, and I finally decided I would play with some of the ideas that the book led me to.

All of this involved some paint, some fusible web, some sample stretch velvet scraps, some chiffon pieces and other various and sundry scraps gifted me a couple of weeks ago. Sue W, do any of these look familiar? LOL! I TOLD you I would pass them on to someone find a use for them, didn't I?
Painted fusible web, fused velvets and chiffons
At any rate, if this turns out the way I think it might, there will be more fusing, more painting, and more thread play in the next few weeks,  

I wanted to take the time to play now when I had a few hours, since my next week will be jam packed full with flowers to merchandise at three different stores. I might not be in this space on Sunday, so I thought I would post now, in keeping with my new resolve to post at least once a week again!

Check back for the next steps!

Sunday, February 03, 2013

Super Week

I've had a marvelous week, even though it's been cold, then in the 70's then cold again. That's winter in the Midwest, for sure! I haven't been able to ride my bike or start my C25K (Couch to 5K) program outside, but I have been working inside a little bit.

The two ongoing scrap projects I've been working on continue to excite me! I received my exchange blocks from Bobbi and Deck the other day! And they are as different from mine as they could be! If you have ever hesitated about participating in a block swap, hesitate no more! Get out there and do it! Just look at these beauties!
Aren't they wonderful?
Many of you know that I also am an avid reader.  I belong to goodreads.com, and track my books there as well as share my reviews with others.  And of course, I get reviews from the people I follow so I can possibly make good choices for my reading materials.  Recently, I became a member of Net Galley, and I was able to recently read a galley copy of a new surface design book in exchange for a review on my blog.  The book is Fabric Surface Design: Painting, Stamping, Rubbing, Stenciling, Silk Screening, Resists, Image Transfer, Marbling, Crayons & Colored Pencils, Batik, Nature Prints, Monotype Printing, by Cheryl Rezendes.  Whew!  What a mouthful!  It will be available for purchase next month.

It is a most wonderful book!  I truly think the title didn't really need to say all that, but all in all, I would buy this book in a heartbeat!  The photographs are beautiful, and the explanations are very clear and informative.  There is even a section on how to use the book to your best advantage.  Sections on the fundamentals of setting up your workspace, organization, and equipment not only make suggestions but tell you why you need this.

Then there are the section on how to explore the media with a great tutorial on comparing textile paints.  Selecting fabrics to work with, and how to prepare it for paint (stretching or flat), and then all the different methods of painting are reviewed.  While there is not exactly a direct tutorial that you follow for each section, I was dying to get into the paint pots and stretch a piece of fabric on a stretcher frame, and try all the different methods the author shared, both in writing and in pictures.  

And it doesn't stop there, either!  The author goes on to explain how to add texture,  and then goes even further to explain surface design techniques.  There is a chapter on how to make your own stamps from different media.  Stenciling techniques, nature printing, printing with plants, and many other types of prints are explained and shown for the reader.  Interspersed with the chapters are full size pages of other artists and their work, and the types of surface design.

Beautifully illustrated, clearly written and basic instructions along with "exploration of possibilities) are the best reasons I have to recommend this book to you if you've ever thought about playing around with surface design.  Get it!


I will have another review of an e-book from Fons and Porter on Log Cabin quilts later in the week, so check back then.